
Key Takeaways
- Flooring is one of the highest-impact visual changes you can make to any room, often transforming the entire feel of a space without touching the walls or layout.
- Luxury vinyl plank is widely considered the best value for most households because it mimics wood convincingly, resists water, and installs over most existing floors.
- Peel-and-stick vinyl tiles and floating laminate planks are the two most beginner-friendly options for first-time DIYers with zero prior experience.
- Preparing the subfloor properly matters more than the material you choose — bumps, moisture, and debris will ruin even the most expensive installation.
- Painting existing wood or concrete floors, stenciling patterns, or refinishing hardwood can deliver a dramatic refresh for under a few hundred dollars.
- Mixing DIY labor with professionally installed accent areas (like a tiled entryway) stretches your money further than hiring out the entire job.
- Always buy 10 percent more flooring than your room measurement suggests to cover cuts, mistakes, and future repairs.
What Flooring Actually Does for a Room
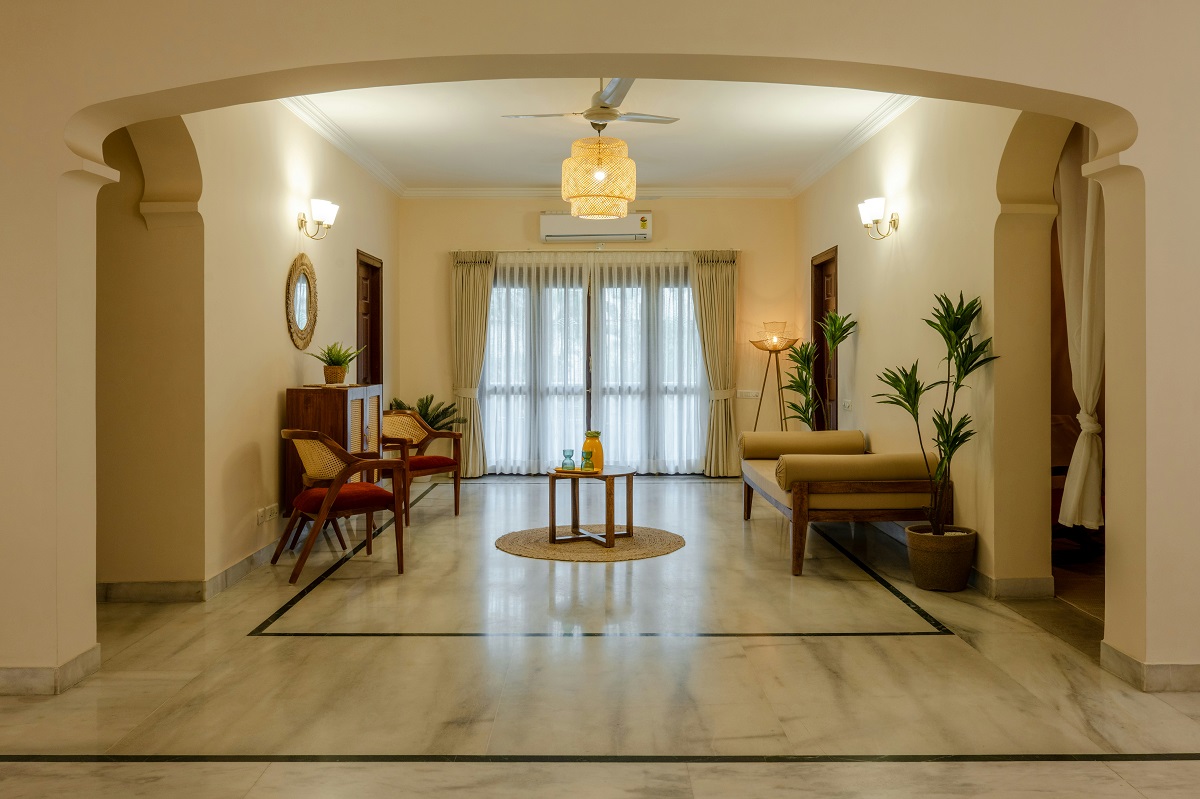
Before we talk about products, prices, or power tools, let’s get one thing straight: the floor is the single largest surface you look at in any room. Walls get broken up by windows, art, and furniture. Ceilings mostly go ignored. But the floor stretches wall to wall, and your eyes land on it constantly. Change it, and the whole room changes with it.
That’s why swapping out tired carpet or scuffed laminate feels so dramatic. You’re not tweaking a detail — you’re resetting the stage everything else sits on. New flooring can make a dim room feel brighter, a small room feel bigger, and a dated room feel current, all without moving a single wall.
The good news for beginners is that flooring has gotten radically easier to install in the past decade. Click-together planks, peel-and-stick tiles, and floating floors mean you no longer need glue, nails, or specialized training to end up with a result that looks genuinely professional. You just need patience and a sharp utility knife.
How Much Should You Expect to Spend?
Prices for new flooring swing wildly depending on material, room size, and whether you hire a pro. According to HomeAdvisor, professional flooring installation typically runs between about $1,528 and $4,859, with homeowners paying around $3,159 on average in 2025. That’s for installation alone, before you factor in the flooring itself.
Doing it yourself cuts that bill dramatically. Materials for a 200-square-foot bedroom in budget-friendly vinyl plank might run you $400 to $1,400, and the only tools you need beyond a measuring tape are a utility knife, a tapping block, and a pull bar. Add a weekend of your time, and you’ve saved thousands.
Here’s a quick breakdown of what people typically budget for different approaches:
- Full DIY with budget materials: $1 to $4 per square foot
- DIY with mid-tier materials: $4 to $8 per square foot
- Pro install with budget materials: $5 to $10 per square foot
- Pro install with premium materials: $10 to $20+ per square foot
- Paint-only floor refresh: under $100 for most rooms
If you’re new to planning renovation budgets, there’s a thorough guide on budgeting renovation projects that walks through how to allocate funds across a whole house, not just a single room.
Affordable Flooring Options Worth Knowing About
Not every flooring material is beginner-friendly or wallet-friendly. Some require mortar, grout lines, and a wet saw. Others go down like a puzzle. Let’s look at the materials that give you the biggest visual payoff for the least money and effort.
Luxury vinyl plank, usually called LVP, is the current favorite for a reason. It looks remarkably like real wood, it’s waterproof, and it clicks together without glue. According to This Old House, standard vinyl plank runs about $2 to $7 per square foot for materials, while luxury versions climb to $3 to $10 per square foot. For most rooms, that puts total material costs well under what you’d spend on hardwood or tile.
Laminate is LVP’s older cousin — slightly cheaper, slightly less water-resistant, and still a strong contender for bedrooms, living rooms, and hallways. Per Fixr, installed laminate runs about $2 to $8 per square foot, while installed tile sits higher at roughly $5 to $13 per square foot. Tile looks fantastic in kitchens and bathrooms, but it’s a bigger lift for a first-timer.
What About Peel-and-Stick Vinyl Tile?
Peel-and-stick vinyl tile is the easiest flooring on earth to install. Peel the backing, press it down, repeat. For a laundry room or small bathroom, you can finish the whole floor in an afternoon. The catch is that the cheapest versions can look cheap, and they don’t love high-moisture environments over the long term. Spend a little more on quality tile, prep your subfloor properly, and this becomes a legitimately great option for small spaces on tight budgets.
Smart Low-Cost Home Makeover Ideas Starting With the Floor
Sometimes you don’t need to replace the floor at all. Some of the most clever home renovation ideas on a budget skip the new material entirely and work with what’s already there. Painting a concrete basement floor in a crisp light gray can transform a dungeon into a usable room for the cost of a gallon of porch paint. Stenciling a geometric pattern on an old plywood floor can mimic the look of expensive encaustic tile for forty dollars.
Refinishing is another underrated move. If you pull up old carpet and discover hardwood underneath — which happens more often than you’d think in older homes — a weekend rental sander and a can of polyurethane can resurrect those floors for a few hundred dollars.
Here are refresh ideas that cost almost nothing but deliver a serious visual upgrade:
- Paint a checkerboard pattern on a kitchen or entryway floor
- Add a bold area rug over a worn section instead of replacing the whole floor
- Sand and re-stain hardwood a darker, more modern tone
- Use floor paint to cover tile you can’t afford to replace
- Install new baseboards and quarter-round to make existing floors look finished
- Deep-clean and reseal grout lines to make old tile look nearly new
Can You Really Paint a Floor?
Yes, and it holds up better than people expect, provided you use the right product. Porch and floor enamel is designed for foot traffic and resists chipping. The real work is in the prep: cleaning, light sanding, priming, and letting each coat cure fully. Rush it, and you’ll regret it in a month. Take your time, and a painted floor can look sharp for years.
Preparing Your Subfloor the Right Way
Here’s the part most beginners skip, and it’s the part that separates a floor that looks amazing from one that squeaks, buckles, or peels in six months. The subfloor — the structural layer underneath your finish flooring — has to be clean, dry, flat, and solid before anything new goes down.
Start by pulling up the old flooring completely and vacuuming every last crumb and staple. Walk the floor and listen for squeaks or soft spots. A squeaky board usually just needs a screw driven down into the joist below. A soft spot might mean water damage that needs a patch before you continue.
Check for level using a long straightedge or a four-foot level. Low spots can be filled with a self-leveling compound you pour and spread. High spots on wood subfloors can be sanded down. On concrete, you’ll want to test for moisture by taping a square of plastic to the floor overnight — if you see condensation underneath in the morning, you have a moisture problem that needs addressing before any flooring goes down.
Here’s a quick subfloor checklist before you open a single box of flooring:
- Remove all old adhesive, staples, nails, and tack strips
- Fix squeaks by screwing loose boards into joists
- Patch soft spots or water damage with new plywood
- Level dips greater than 3/16 inch over a ten-foot span
- Test concrete for moisture and seal if needed
- Vacuum twice, then vacuum once more
- Lay down the correct underlayment for your chosen flooring
Skip these steps and your beautiful new planks will telegraph every flaw underneath them. Do them properly and almost any finish material will look like a pro put it down.
Tools You Actually Need (and Ones You Don’t)
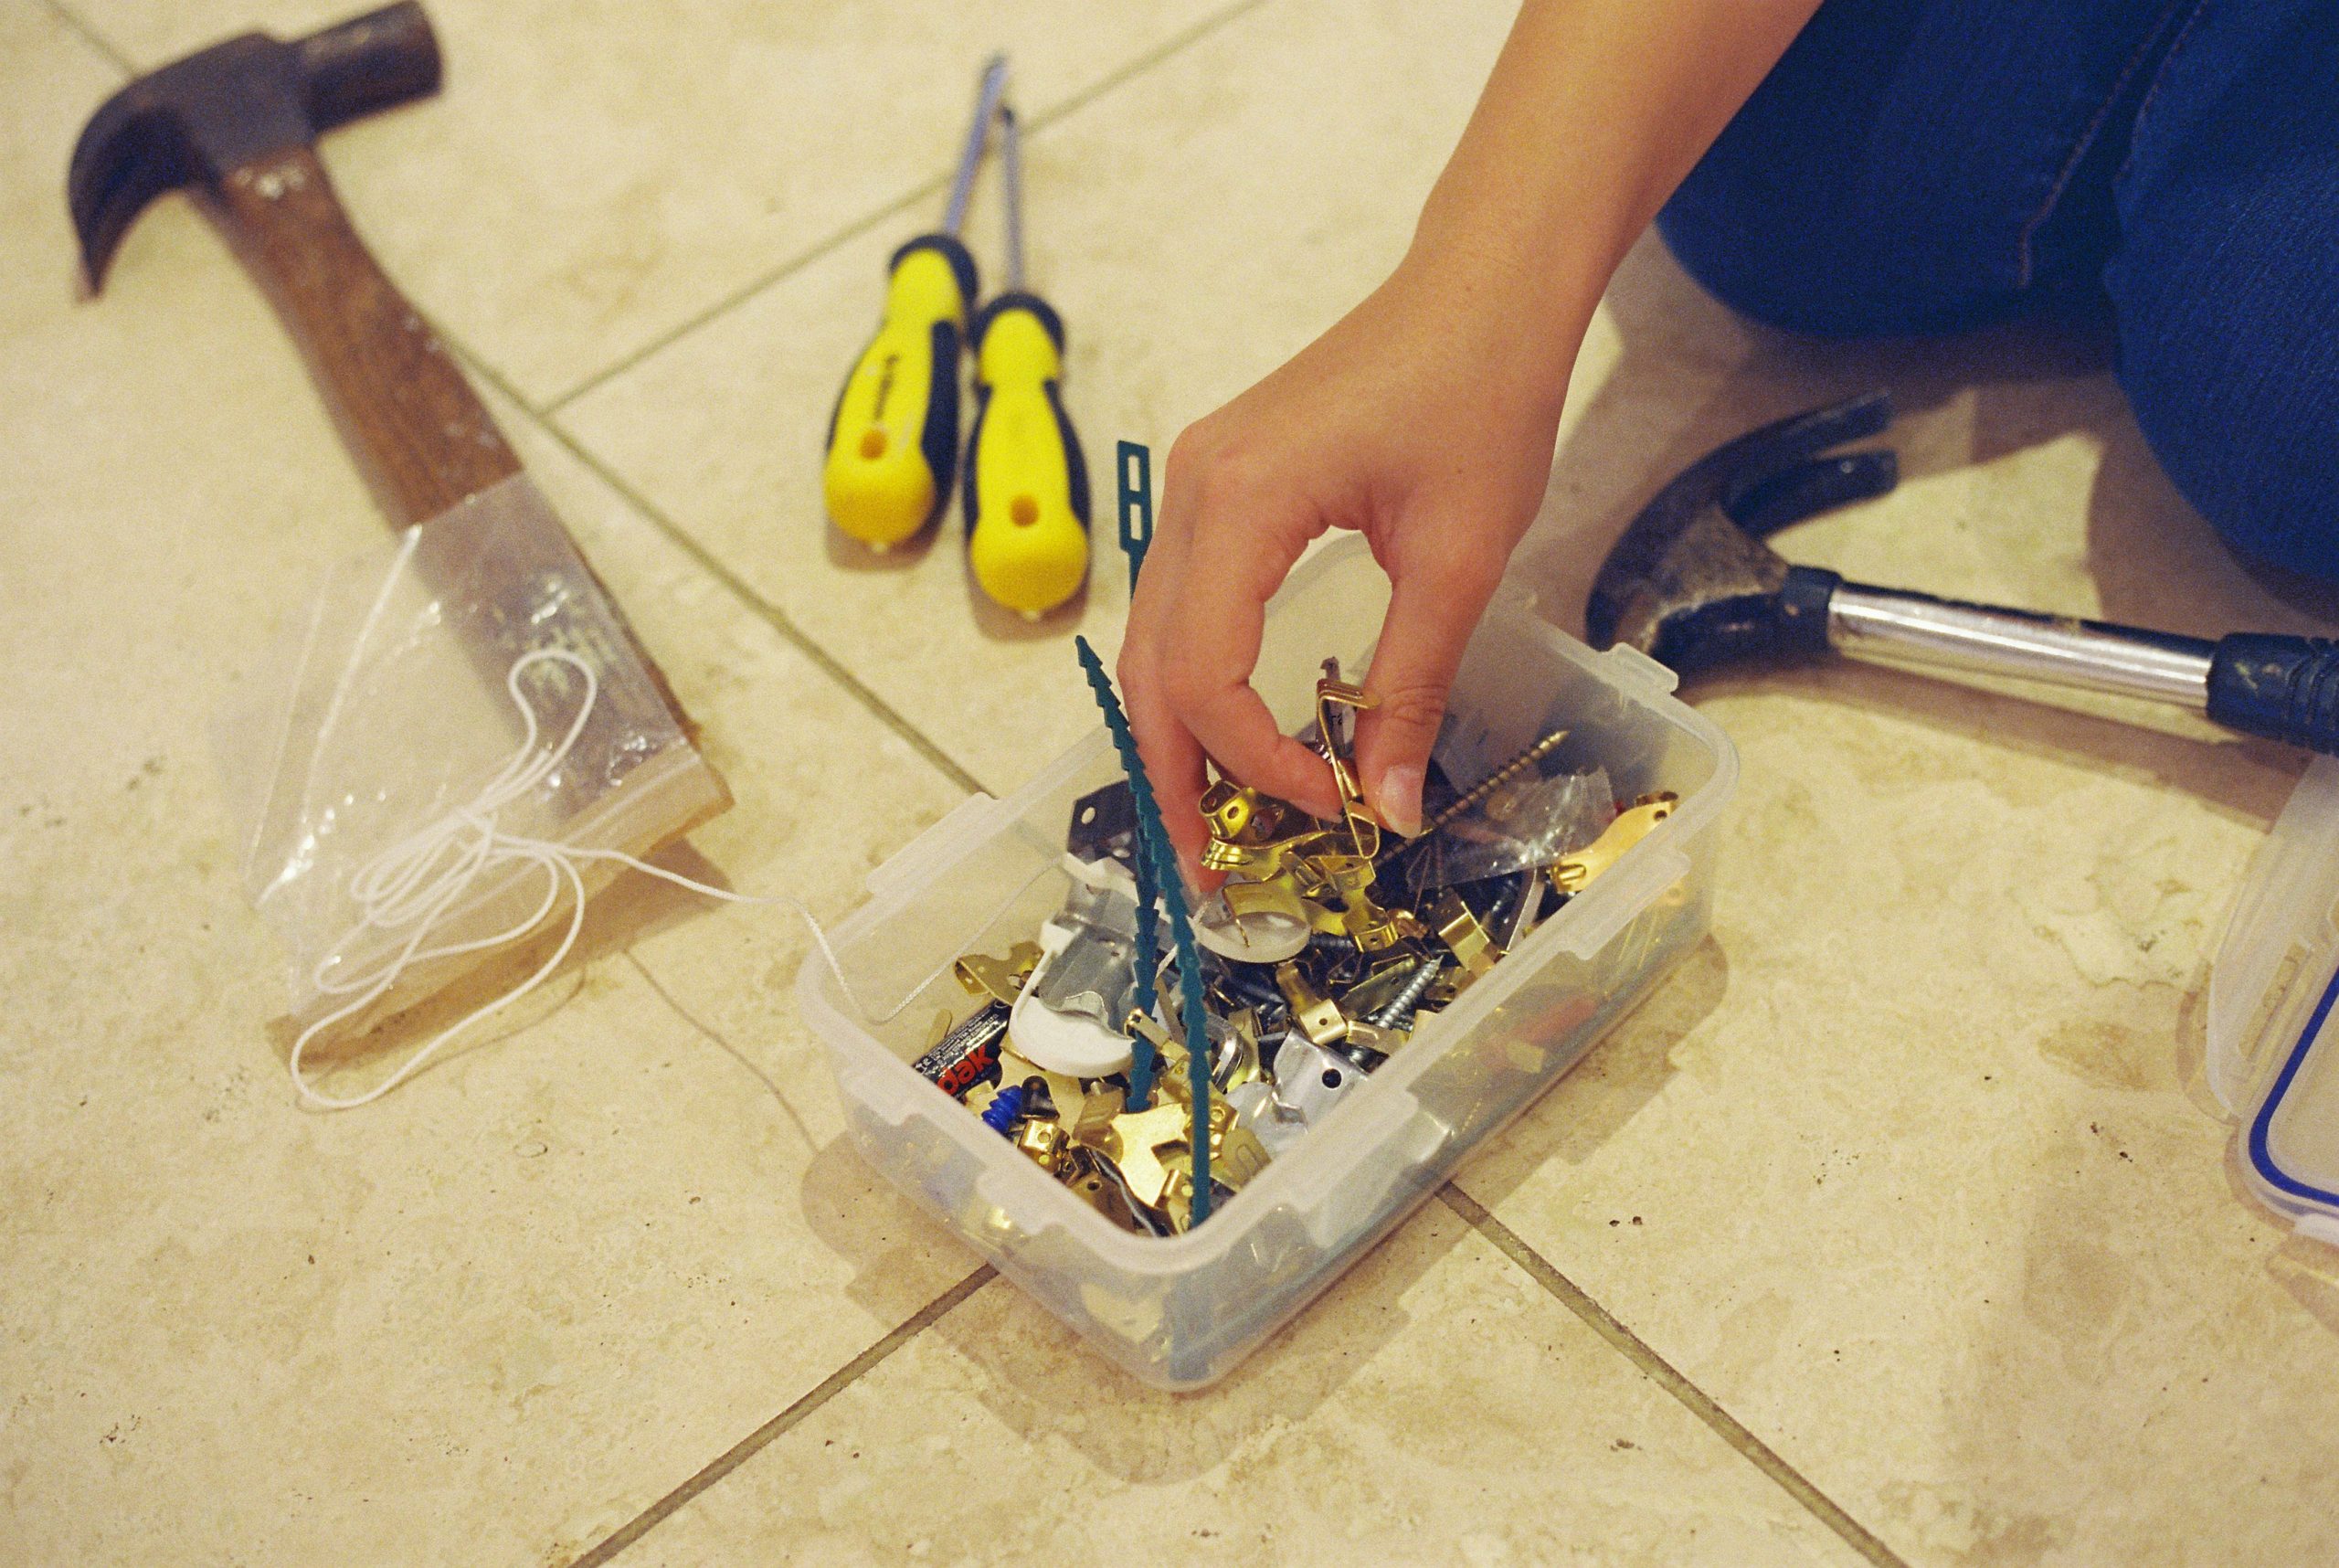
Walk into any big-box store and the tool wall will try to convince you that you need a $400 kit to install a floor. You don’t. For click-together LVP or laminate in a standard bedroom, here’s the real list:
- Tape measure and pencil
- Utility knife with fresh blades
- Carpenter’s square or speed square
- Tapping block and pull bar
- Spacers (or a bag of pennies in a pinch)
- Rubber mallet
- Knee pads — buy the good ones, your joints will thank you
For tile or hardwood, the tool list grows and so does the learning curve. A wet saw rental runs about $50 a day, and a flooring nailer rental is similar. If you’re only doing one room, renting beats buying every time.
When Should You Actually Call a Pro?
Some jobs are worth hiring out even if you’re committed to doing most of the work yourself. Stairs are tricky and dangerous to get wrong. Large tile installations with intricate patterns punish beginners. Floors over radiant heating systems have specific requirements that are easy to botch. If any of those describe your project, get a quote. You can still save money by handling the demo, prep, and smaller rooms yourself while the pro tackles the hard part.
Stretching Your Budget With a Hybrid Approach
The homeowners who get the best results on tight budgets rarely go all-DIY or all-pro. They mix. Maybe you install LVP in three bedrooms yourself over a long weekend and hire a tiler for the entryway where guests will notice the detail work. Maybe you refinish the hardwood in the living room and have a pro handle the stairs.
This hybrid approach lets you spend money where it genuinely matters — on skill, on tricky geometry, on high-visibility areas — and save money where sweat equity does the job just as well. A bedroom floor doesn’t care whether a licensed installer or you put it down, as long as the result is flat, tight, and square.
Closing Thoughts
Floors do more heavy lifting than any other surface in your house, and that’s exactly why upgrading them delivers such an outsized payoff. Whether you’re clicking together vinyl planks over a weekend, painting a checkerboard across your kitchen, or sanding down hardwood you didn’t know you had, the transformation changes how every room feels the moment you walk in. And none of it requires a contractor’s license or a five-figure budget.
The real trick is matching the project to your skill level and your wallet. Start small if you’ve never done this before — a laundry room or a closet makes a great first attempt, and the stakes are low if you learn something the hard way. Build confidence room by room, and before long you’ll be tackling the living room floor without a second thought. The savings add up fast when you’re not paying for labor on every square foot.
Measure twice, prep thoroughly, buy that extra ten percent of material, and give yourself permission to work slowly. Flooring rewards patience more than it rewards expertise, and the finished product will stay with you every single day you live in the house. That’s a return on investment you can literally stand on.
